I had been looking forward to this year's cider mill crawl for weeks! I couldn't wait to grab a group of ladies and go sample some delectable treats from a few mills that we have skipped over in the past. Next year we will have to head east now that the northwest and southwest have been mostly covered.
Here are the posts for the previous 3 crawls:
CMC 1
CMC 2
CMC 3
We didn't luck out in the weather department like last year. It was chilly and drizzled on and off (and I had a cold)... but we were troopers and nothing could keep us from a sugar rush!
Cute little bags just waiting to take home the leftover goodies.
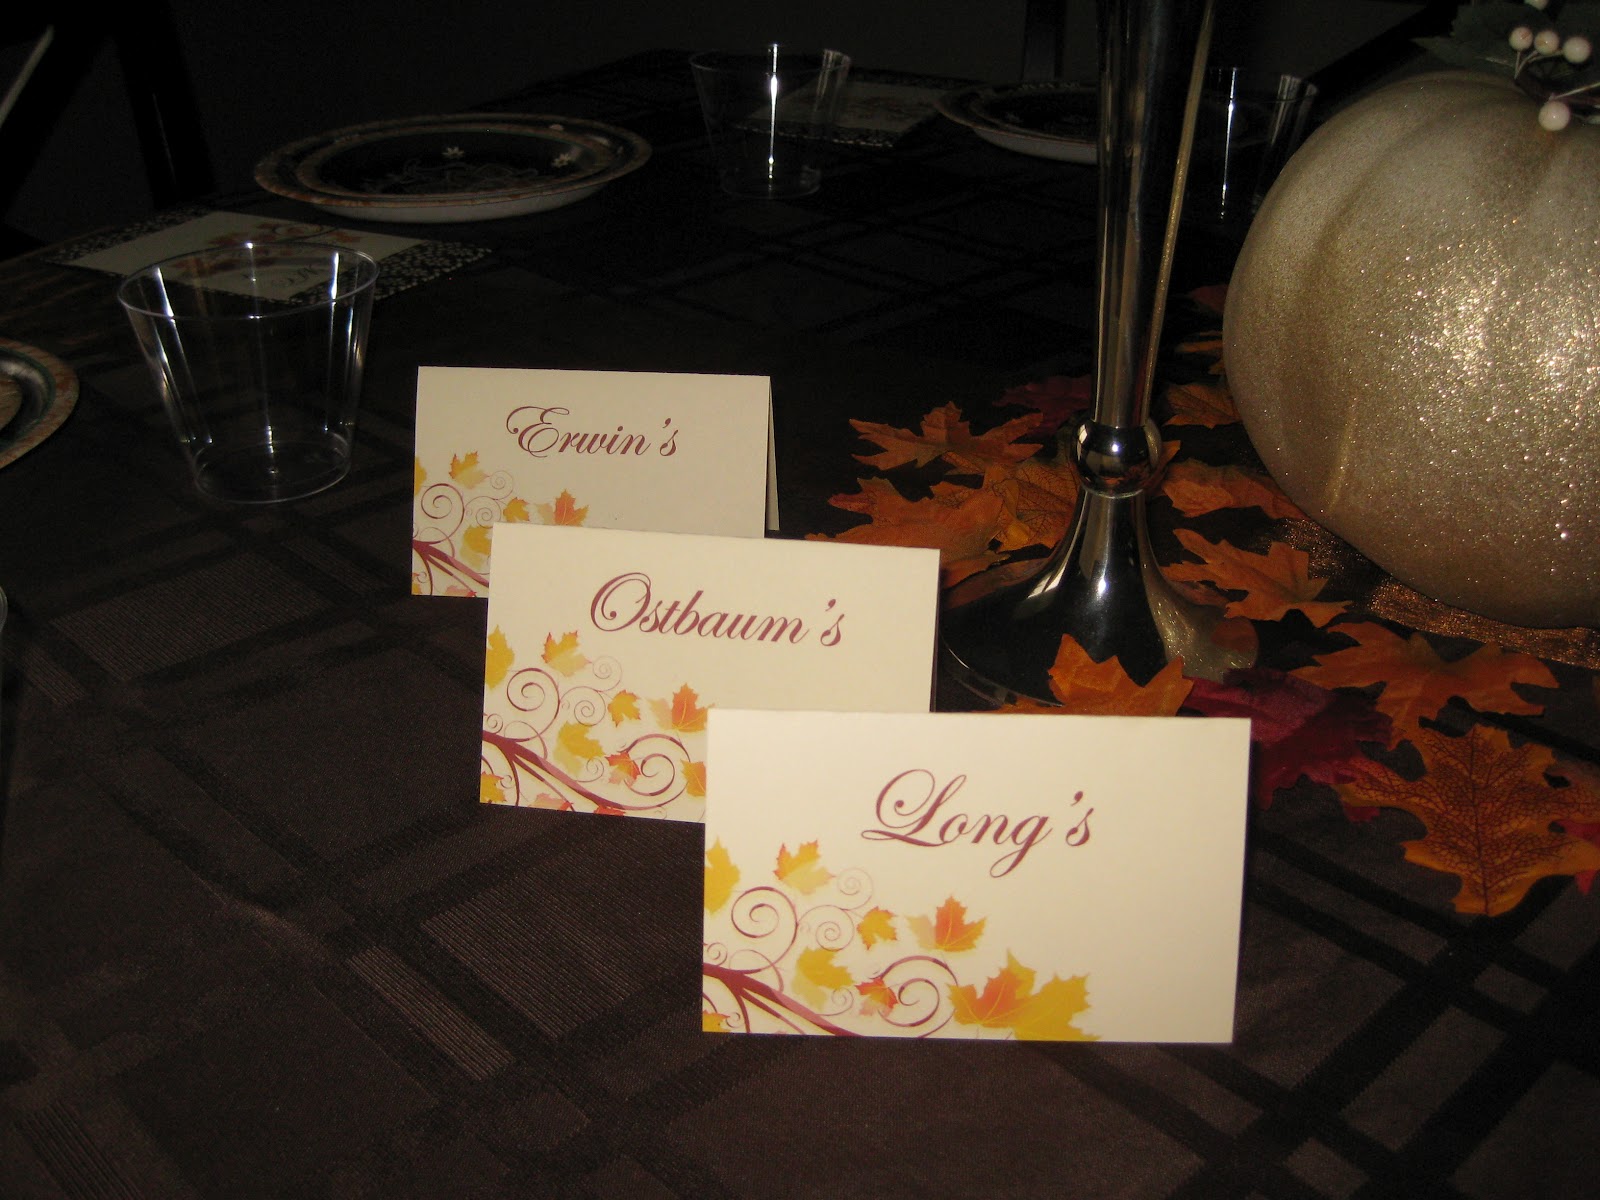
Table all set up.
Why no, those aren't the same graphics from last year.
At least the plates are different...
Glitter pumpkin.
Mmm, my first taste of cider this year.
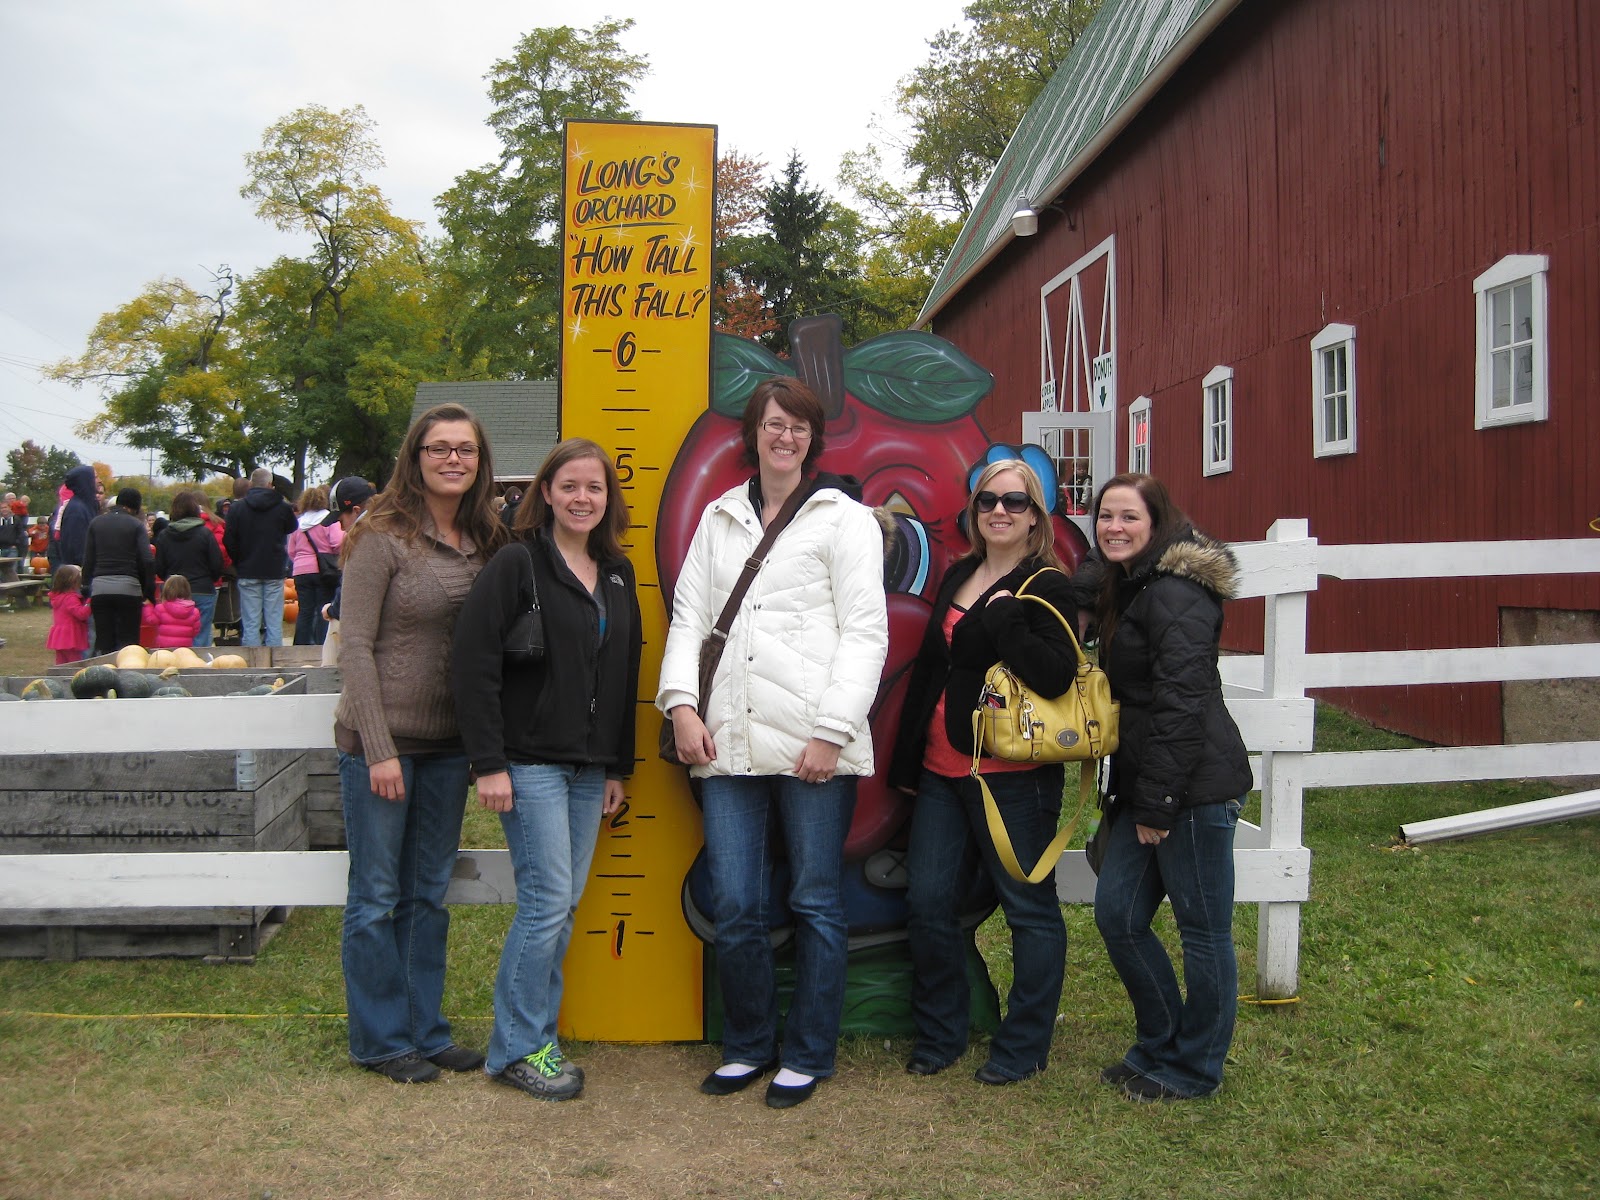
Group shot, well, I am behind the camera.
L to R: Raeyanna, Liz, Andrea, Stephanie, and Ann Marie
Why yes, we will wait in line for the donut door.
Nasty sprouts.
We were not cat calling at the cider press boys.
Creepy farm tools on the ceiling.
Big grins from super fresh, hot donuts.
Yes, I am the cider Vanna White.
Stephanie is loving on the hot cider.
Very happy group to be sitting inside this time.
Pro cider crawlers know to only eat a couple hunks of donut at each mill.
Cider baby.
Aerial donut cam.
Yes, only 2 pics at Erwin's... it had started raining.
Back to my house for the official tasting and judging.
Of course we continued the tasting after already tasting everything... and before we eat a protein packed dinner of chili. That's how we roll.
A very happy, sleepy, carbed-up group.
And now, for the results!!!!
Overall Experience:
1st- Long's
2nd- Obstbaum's
3rd- Erwin's
Best Donut:
1st- Long's
2nd- Erwin's
3rd- Obstbaum's
Best Cider:
1st- Long's
2nd- Erwin's
3rd- Obstbaum's
OVERALL RANKING (150 points possible)
1st- Long's with 115 points WINNER!
2nd- Erwin's with 98 points
3rd- Obstbaum's with 83.5 points
Interesting pricing note:
We purchased 1 dozen donuts and 2 half gallons of cider from each mill. The pricing varied considerably.
1st- Obstbaum's at $14.50
2nd- Long's at $18.25
3rd- Erwin's at $24.50
Here are my thoughts:
Long's: This was fun to go back to. Last year, we were not able to fully appreciate this mill because the barn was closed and we could only eat cold donuts and cider from the roadside stand in the parking lot. Huge difference. This place smelled awesome, was really cute, and there was entertainment while waiting in line. I am super happy this place is so close to my house.
Obstbaum's: Quaint and off the beaten path. Wasn't that busy despite only being open on the weekends. It definitely had more of a country feel than some of the more commercial mills. Good prices and the indoor seating was good.
Erwin's: This one didn't get a fair shake in the experience voting because it had started raining and gotten colder, so we didn't explore much. But it did feel very get 'em in, buy the stuff, get 'em out. And it was expensive! While it wasn't in the voting, they offered pumpkin donuts in addition to the classic apple spice donut. There was a ton of covered seating but none inside.


